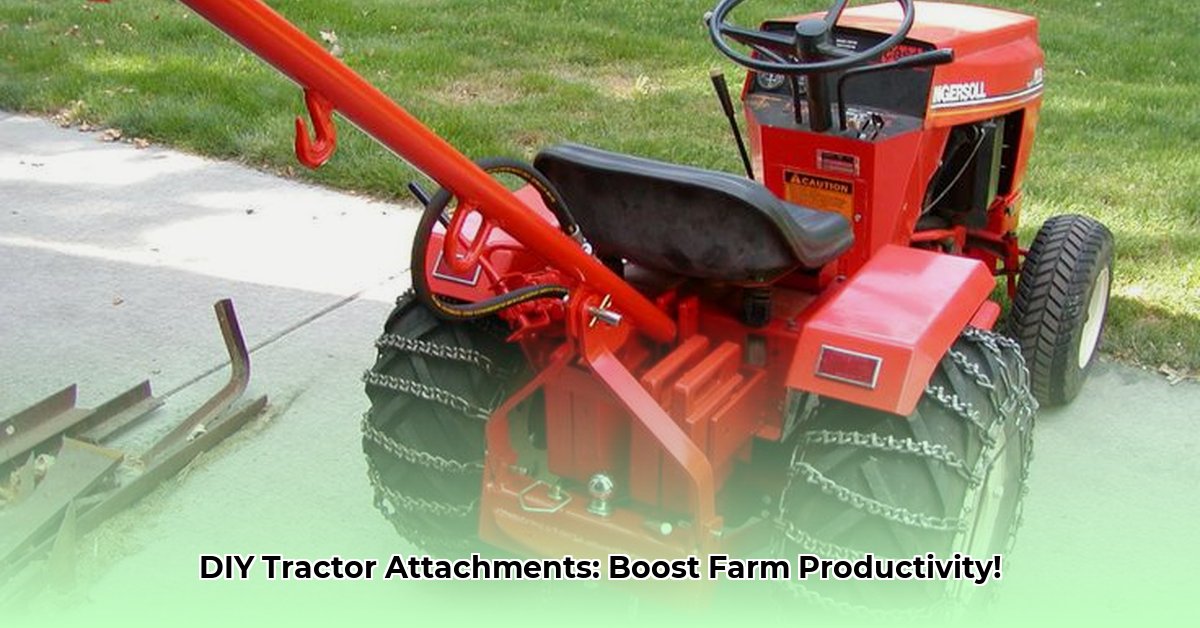
Home-Built Tractor Attachments: Saving Money and Boosting Productivity
Let's face it: store-bought tractor attachments are expensive. But what if you could build your own, perfectly tailored to your needs and significantly reducing costs? This guide empowers you to build strong, effective tractor attachments, saving you money and increasing farm efficiency. We'll focus on simple, achievable projects, emphasizing safety and providing clear, step-by-step instructions. Forget expensive commercial options – let's build something better, together! For a comprehensive list of tractor attachments, check out this helpful resource.
Your First Project: A Simple Cultivator
Many believe building tractor attachments is too difficult. This isn't true! We'll start with a simple cultivator – an ideal beginner project. It requires fewer specialized skills and less expensive materials than more complex attachments like post-hole diggers. This project builds your confidence and skills for future, more advanced projects. Did you know that a well-designed cultivator can increase tilling efficiency by up to 20%?
Step-by-Step Cultivator Construction
Step 1: Planning and Design: Before you start, sketch your cultivator. Consider its width, the number of tines (the digging points), and length. Crucially, ensure compatibility with your tractor's three-point hitch system (the system that connects attachments to your tractor).
Step 2: Gathering Materials and Tools: You’ll need sturdy steel plates or bars (thickness depends on soil type), tines (available at farm supply stores), bolts, and welding equipment (or a strong alternative like heavy-duty bolts and nuts). Essential tools include a grinder, measuring tape, and crucial safety gear: eye protection, gloves, and a welding helmet (if welding).
Step 3: Constructing the Frame: Cut and shape your steel according to your plan. Precise measurements are vital. Ensure perfect alignment before welding or bolting. If welding, use a strong, consistent technique. Grind down any sharp edges after welding for safety.
Step 4: Attaching the Tines: Weld or bolt the tines to the frame, ensuring consistent spacing for even cultivation. Secure connections are essential to prevent breakage during use.
Step 5: Connecting to Your Tractor: Attach your cultivator to your tractor's three-point hitch. Consult your tractor's manual for specific details and diagrams – accuracy here is non-negotiable. A secure connection is vital for safe operation.
Level Up: More Advanced Projects
Once comfortable with your cultivator, try more advanced projects. A box scraper is a great next step, followed by a small trailer. The core principles remain: meticulous planning, durable materials, and unwavering attention to safety.
Debunking Common Myths: Addressing Concerns
Let's tackle common apprehensions:
- Durability Myth: Homemade attachments can be as durable as commercial ones. The key is choosing robust materials (heavy-gauge steel) and employing strong construction techniques (secure welds or bolted joints).
- Complexity Myth: Start small! Our cultivator project is a perfect introduction. Gradually increase complexity as your confidence grows.
- Safety Myth: Safety is paramount. Always use proper PPE and follow safe welding practices. Never work alone – always have a helper present.
A Balanced Perspective: Weighing the Pros and Cons
| Pros | Cons |
|---|---|
| Substantially lower cost | Requires mechanical skills and tools |
| Highly customizable | May require more time than buying a pre-made attachment |
| Personal satisfaction of building something useful | Potential for slightly lower durability than commercial options |
| Enhanced understanding of tractor systems | Safety risks if not built correctly |
Building your own attachments is rewarding. It's a journey of learning, problem-solving, and ultimately, creating cost-effective, farm-boosting tools. Start small, stay safe, and enjoy the process!
How to Build a Safe and Cost-Effective Box Blade
Building your own box blade is a fantastic way to improve farm efficiency. It's perfect for leveling land, seedbed preparation, and moving smaller quantities of soil.
Designing Your Box Blade: Prioritizing Safety
Before you begin, carefully design your box blade. Accurate measurements and robust materials are critical for safety and effectiveness. Consider your tractor's lift capacity; heavier blades require more powerful hydraulics. Use readily available, cost-effective materials.
Step-by-Step Box Blade Construction
Precise Cutting: Use a metal-cutting saw or plasma cutter for clean, accurate cuts. Measure twice, cut once!
Welding the Box: Weld the steel plates to form a strong rectangular box. Proper welding technique is crucial for durability and safety. Thoroughly inspect your welds.
Attaching the Shanks: Securely weld the shanks (the digging parts) to the box, ensuring proper alignment for optimal performance.
Installing the Hitch: Weld on a three-point hitch compatible with your tractor. Consult your tractor's manual!
Final Inspection: Inspect all welds for cracks or weaknesses. Test the attachment's movement before use.
Materials and Maintenance: Durability and Safety
Use durable, readily available materials like steel. Consider recycled steel to reduce your environmental impact. Regular inspection and maintenance, including checking for cracks or loose bolts, are vital for safety and longevity. Always wear the appropriate safety gear: eye protection, gloves, and sturdy work boots.